
In the heart of London, where tradition meets contemporary, the charm of a home can significantly be enhanced by the state of its floors. Softwood flooring, prevalent in many London homes, offers a warm, rustic appeal that many homeowners seek.
However, over time, this flooring may lose its lustre due to wear and tear, necessitating a thorough sanding process to restore its beauty. This post is a comprehensive guide, meticulously crafted to aid London homeowners in rejuvenating their softwood floors. This guide covers the full spectrum of the sanding process, from preparation and equipment selection to the final touches of restoration and maintenance, thereby ensuring that every step is executed with precision and care.
Preparation
The journey to bring softwood floors back to life starts with careful preparation, a crucial step that sets the foundation for the entire project. Initially, homeowners need to thoroughly inspect the floor to spot any areas needing extra care. It’s essential to remove nails or any sharp objects sticking out because they can ruin sanding tools and affect the finish’s look. To get a smooth, even surface, filling in the gaps between the boards is necessary. Using a filler that matches the wood’s colour and texture will help create a seamless appearance.
Before sanding begins, it’s important to clear the room of all furniture and make sure there are no obstacles that could hinder the sanding process. This preparation ensures the work goes smoothly and safely. Having the right tools is key to a successful restoration. High-quality belt sanders are great for the initial heavy-duty sanding, while orbital sanders are perfect for finishing touches, offering a more refined surface. A variety of sandpaper grits, ranging from coarse (40 grit) for the rough initial sanding down to fine (220 grit) for the final polish, allows for gradual smoothing of the floor.
Selecting the Right Tools
Choosing the right equipment and materials is paramount in achieving a flawless finish. Belt sanders, with their powerful sanding capability, are ideal for removing the old finish and smoothing the wood. Orbital sanders, on the other hand, offer precision and are perfect for finishing touches, ensuring a smooth surface.
The selection of sandpaper grit is equally important, starting with a coarse 40 grit for the initial sanding stage and progressing to a finer 220 grit for the final pass. This gradual progression is crucial for eliminating scratches and achieving a polished finish.
Additionally, a reliable vacuum cleaner is indispensable for removing dust between stages, which not only maintains a clean working environment but also contributes to the overall quality of the sanding process.
“When selecting sanding tools for softwood flooring, consider the wood’s softness and grain. Opt for a fine-grit sandpaper to prevent gouging and ensure a smooth finish. Random orbital sanders are ideal for their versatility and ability to minimise scratch patterns, which are essential for the soft surfaces of woods like pine or spruce. Always start with a higher grit and work your way down, and remember, patience and the right tool choice are key to a flawless finish.” – Jim Goodall, GJP Floor Sanding.
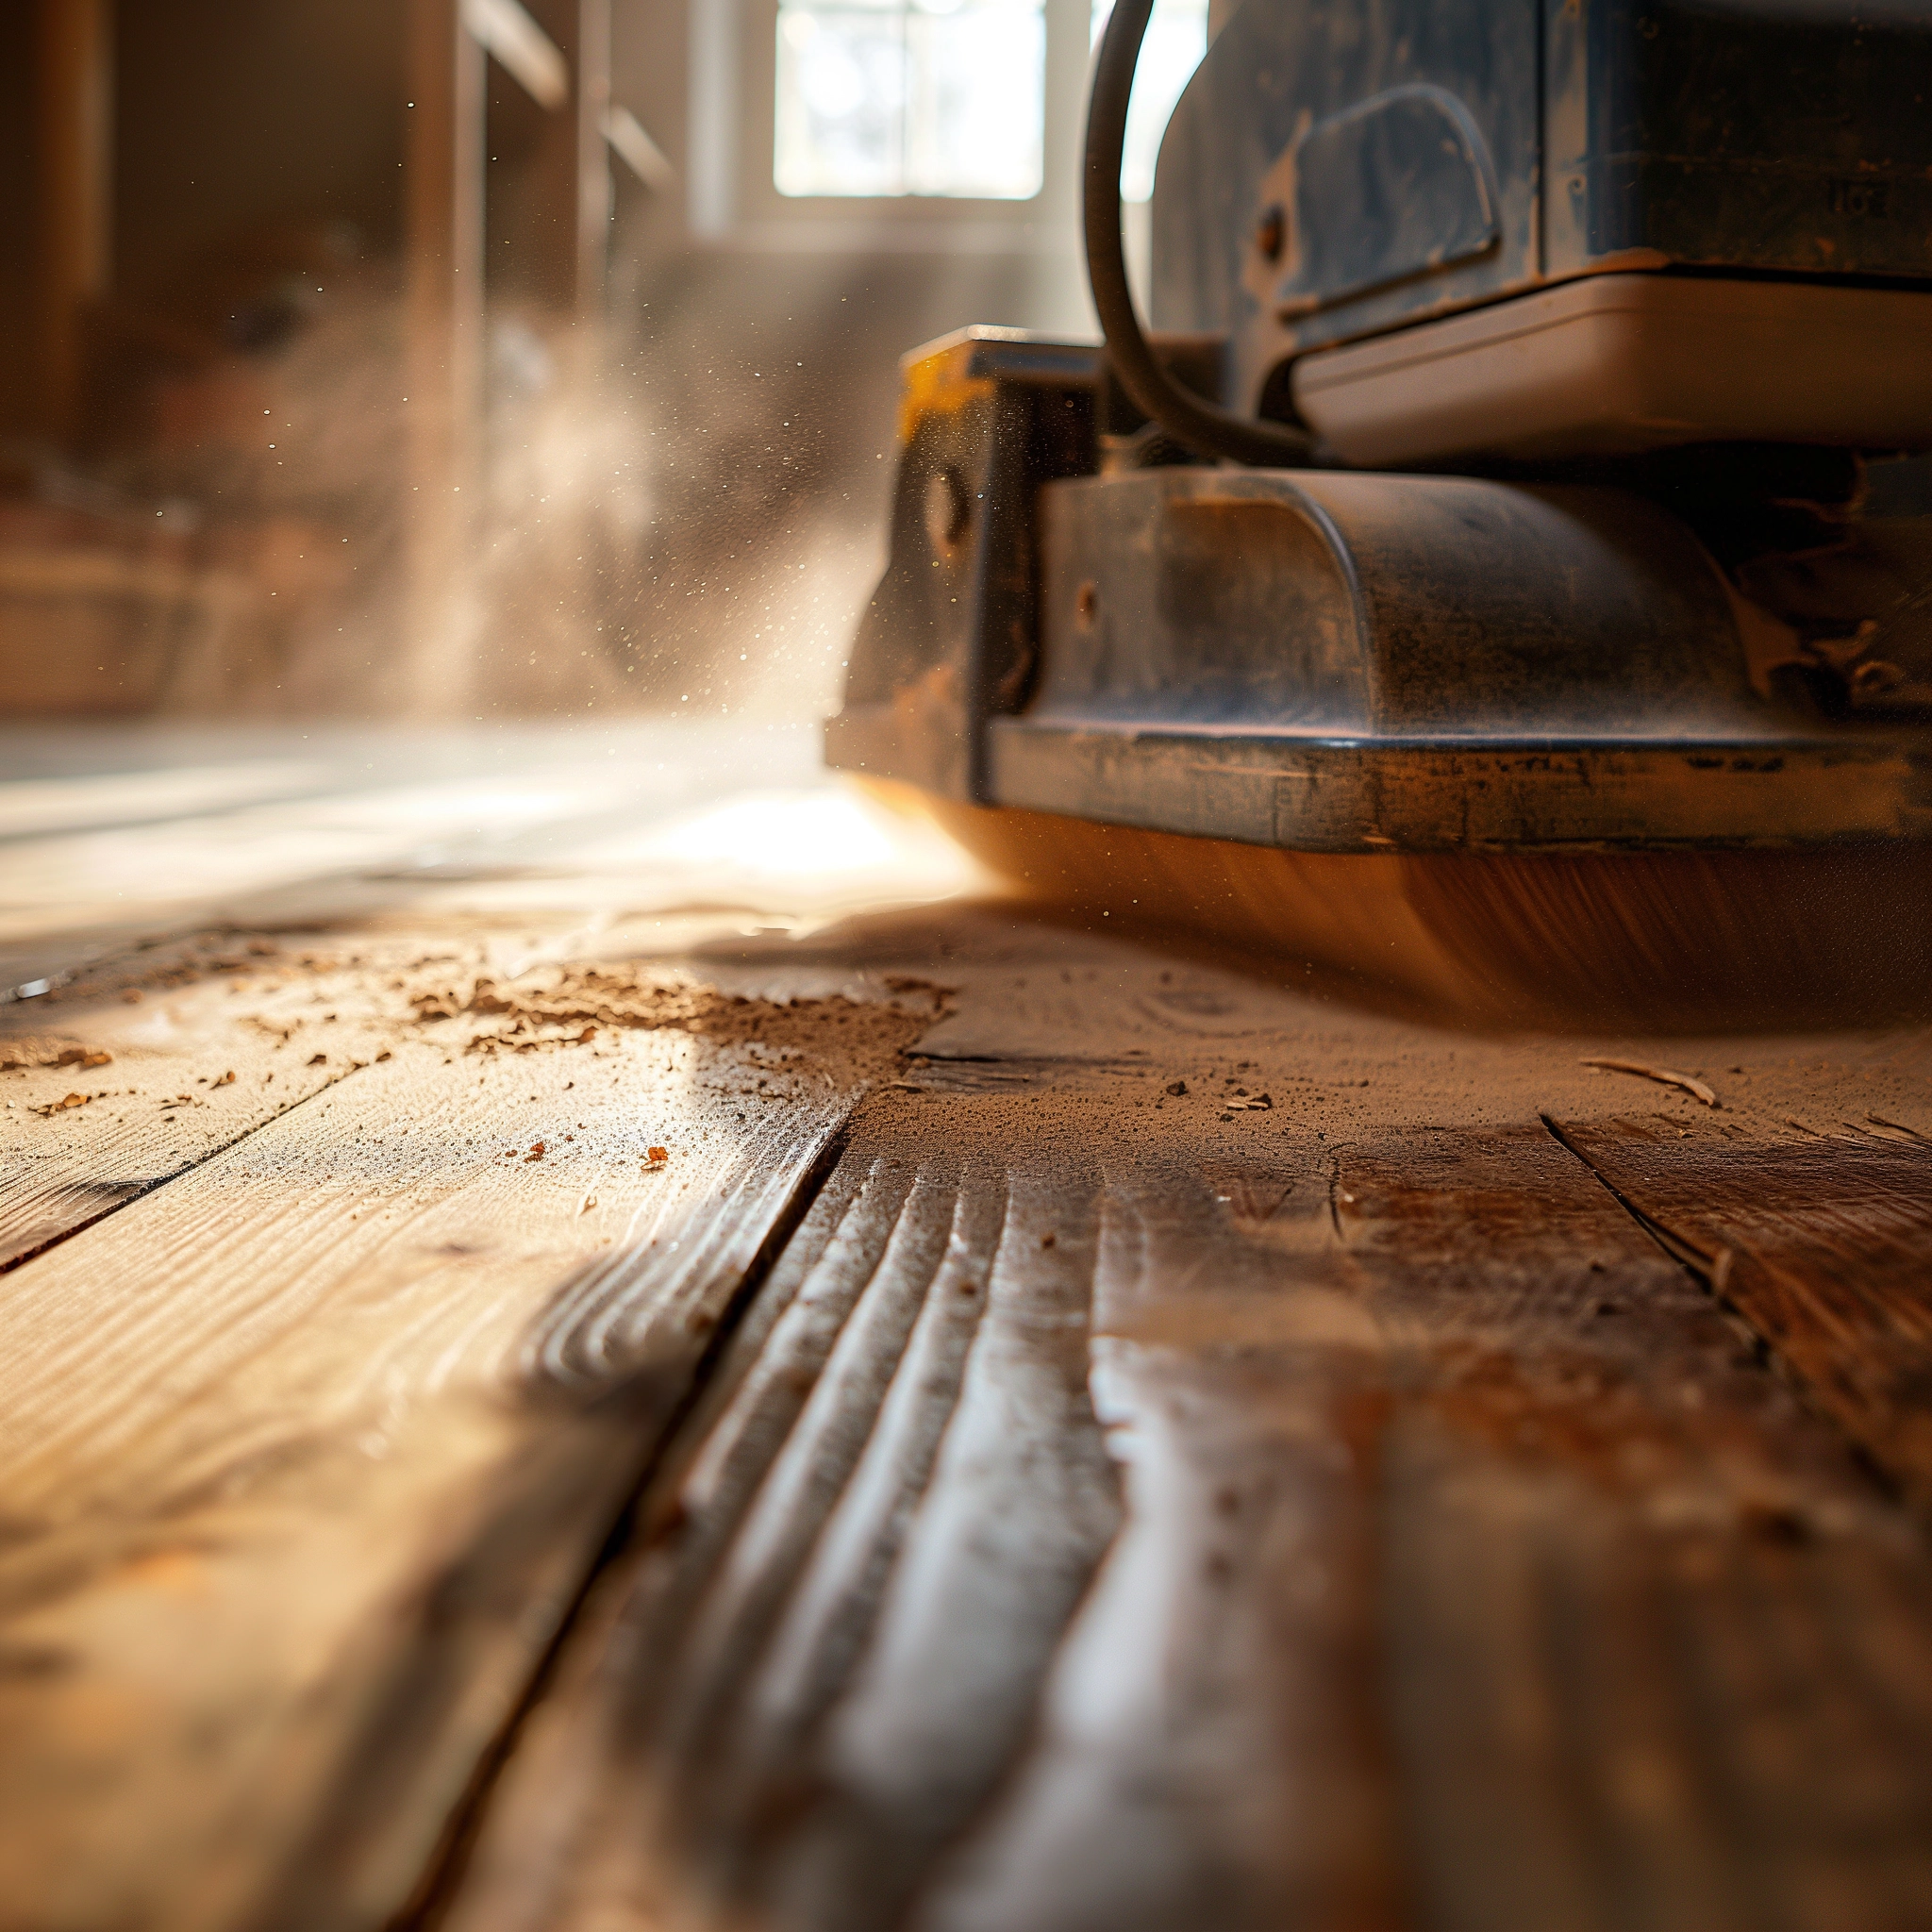
Sanding Process
The sanding process is where the transformation unfolds. Beginning with coarse grit sandpaper allows for the removal of the old finish and evens out major imperfections. It’s essential to sand along the grain of the wood to prevent scratches that could mar the appearance of the floor. The use of edge sanders or hand-held sanding devices enables the meticulous sanding of corners and edges, areas that are often overlooked yet crucial for a comprehensive finish.
Maintaining even pressure during sanding is critical to avoid gouges and uneven surfaces. As one progresses to finer grits, the focus shifts towards achieving a smooth and refined finish, laying the groundwork for the restoration and finishing phase.
Ensuring a Clean Finish
Dust management is a critical aspect of the sanding process, not only for the sake of cleanliness but also for health and safety. Wearing protective gear such as masks and goggles protects against inhaling fine dust particles. Vacuuming between each sanding stage is essential for removing dust, thereby preventing it from settling into the fresh finish.
Ensuring a dust-free environment contributes significantly to the final quality of the sanding process, resulting in a clean and attractive floor surface.
Restoration and Finishing
Selecting the appropriate varnish and applying it evenly are pivotal steps in the restoration and finishing phase. The choice of varnish depends on the homeowner’s preference and the type of wood, with options ranging from matte to high gloss finishes. It is crucial to allow adequate drying time between coats, adhering to the manufacturer’s instructions to achieve optimal results.
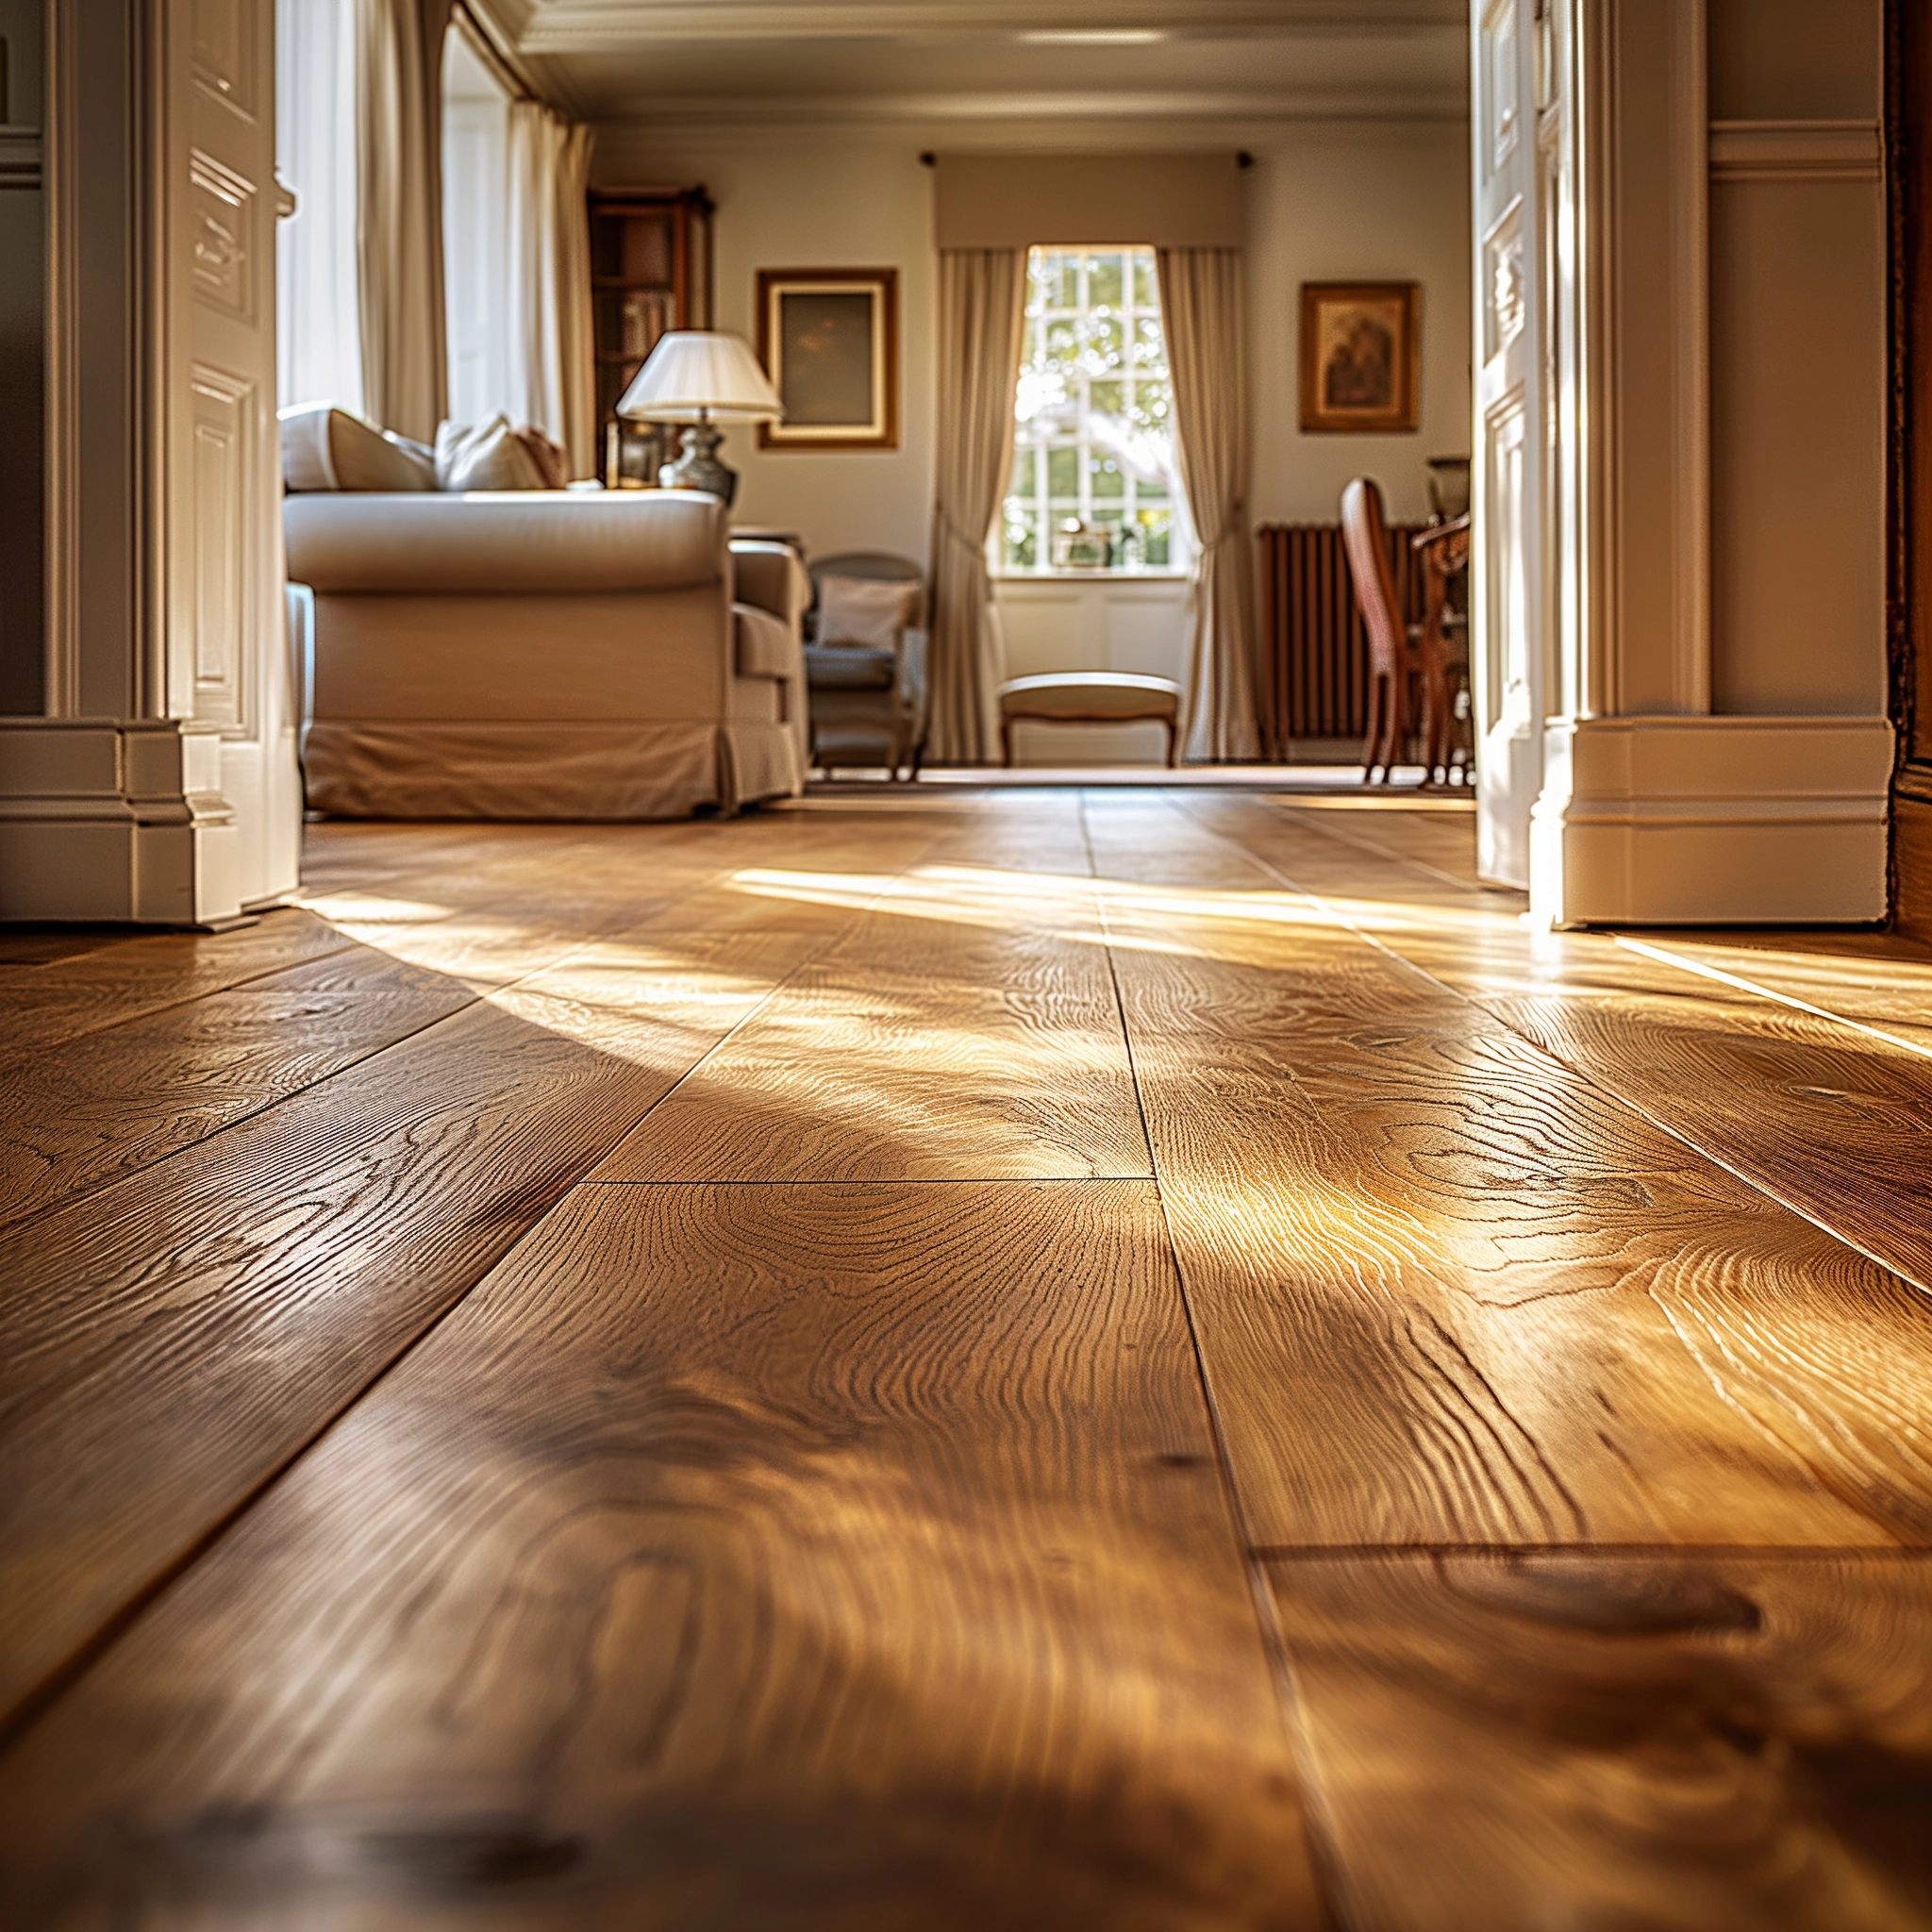
The aim is to attain a smooth, uniform coverage that not only enhances the floor’s appearance but also protects it from future wear and tear.
Preserving Beauty and Durability
Maintaining the newly sanded and finished softwood floor is essential for prolonging its beauty and durability. Regular cleaning, prompt spill cleanup, and the use of furniture pads to prevent scratches are simple yet effective measures.
Managing indoor humidity levels is also vital to prevent the wood from expanding or contracting, which can lead to cracks and gaps. Periodic refinishing, based on the floor’s condition and the amount of foot traffic, ensures the floor remains in pristine condition, preserving its charm and appeal.
DIY vs. Professional
The decision to undertake the sanding process as a DIY project or to hire professional sanders depends on several factors, including cost, skill level, time, and equipment availability. While DIY projects can offer personal satisfaction and an opportunity for skill development, professional services guarantee quality and efficiency, backed by expertise and specialised equipment. Homeowners must weigh these considerations carefully, choosing the path that best suits their needs and circumstances.
Final Thoughts
Following these tips will help homeowners in London start fixing up their floors with confidence. This can make their homes look nicer and more valuable. Whether doing it on their own or with professional help, the important steps are to prepare carefully, do the work well, and keep the floors in good shape afterwards.
By doing this, the beauty of softwood floors can keep making London homes feel special and welcoming for many years. This way, the floors not only look better but also last longer, making homes more beautiful places to live.